
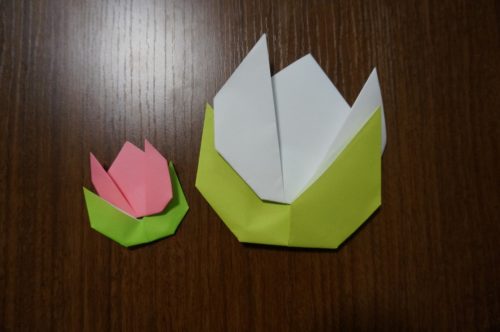
手紙を可愛い花の形に折って、仲の良い友達に渡したいですよね。
しかし、一口に「花」と言ってもたくさん花の種類がありますし、どの花を折れば可愛くて、友達に喜んでもらえるのかが悩みどころです。
それに、出来れば可愛いけれども簡単に折れるものが良いですし、できれば立体的に折れる花にも挑戦してみたいものです。そうすればプレゼントの飾りに最適ですね。
また、もし立体的な花が折れるなら、可愛い花束も作ってみたいですよね。
でも、立体的な花を折るのってなんだか難しそうです。(・_・;)
簡単に可愛い花束出来る方法ってあるんでしょうか?
そこで今回の記事では、花の折り方についてご紹介します。
手紙の折り方 花は?詳しい作り方を図解で解説!
一口に花の折り方と言っても色々な種類があって迷ってしまいます。
でも仲の良い友達に手紙を送るなら可愛らしく折った手紙を渡したいですよね。
こちらでは幼稚園の子どもでも折れる、手紙でチューリップの折り方をご紹介します。
☆チューリップの折り方(花)☆
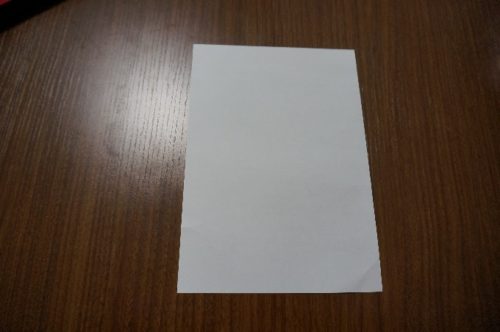
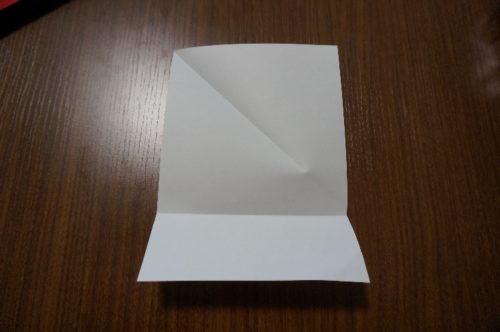
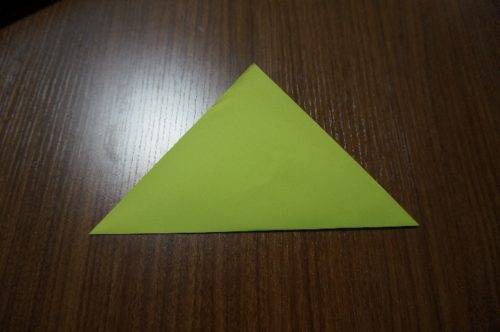
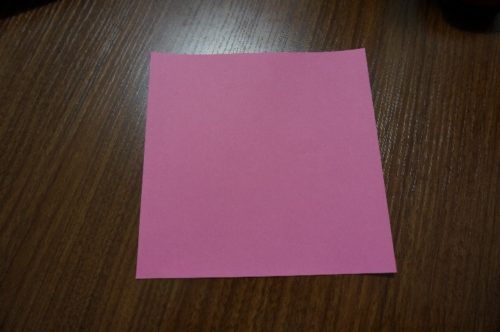
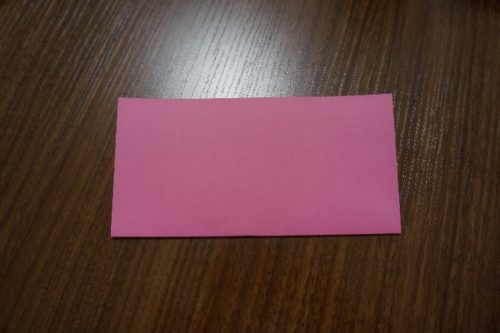
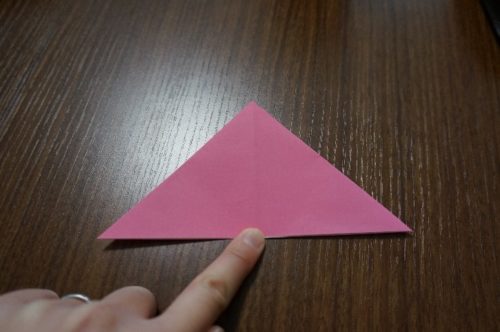
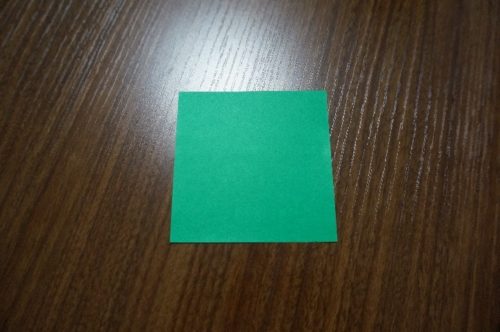
①手紙を正方形にします。
↓
↓
↓
↓
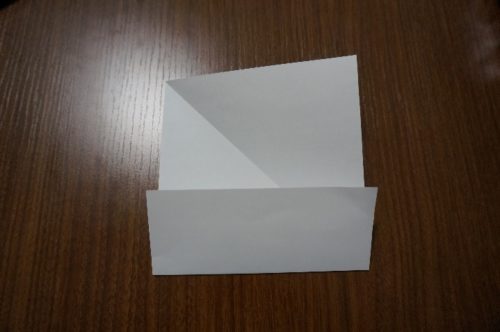
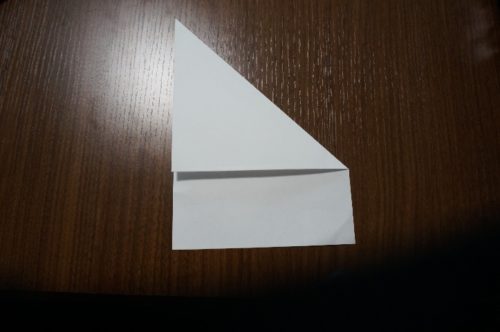
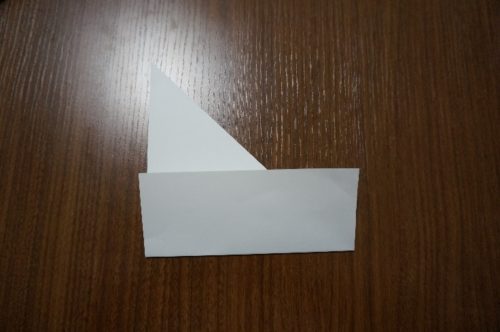
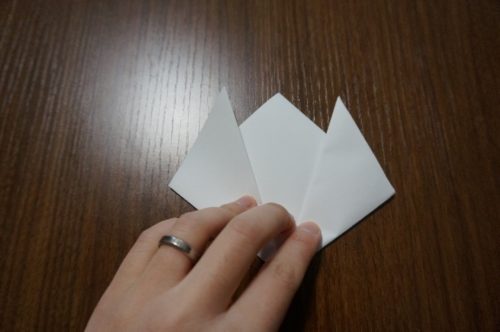
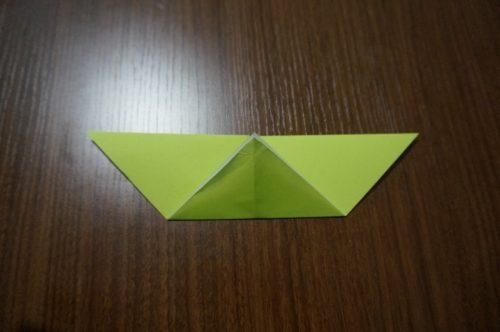
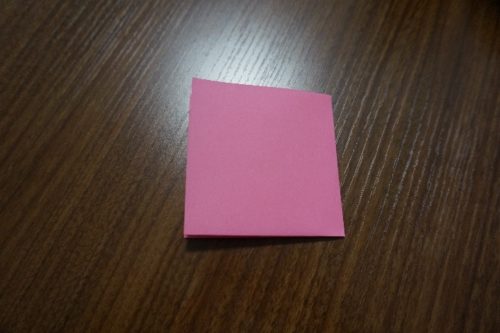
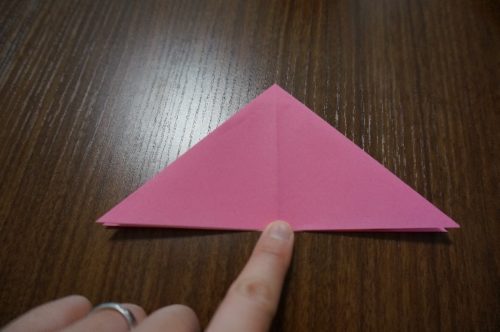
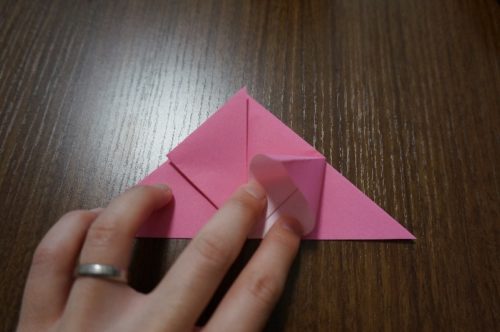
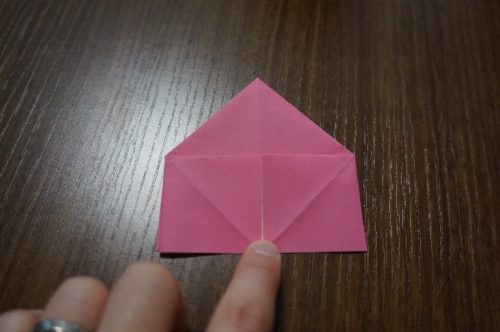
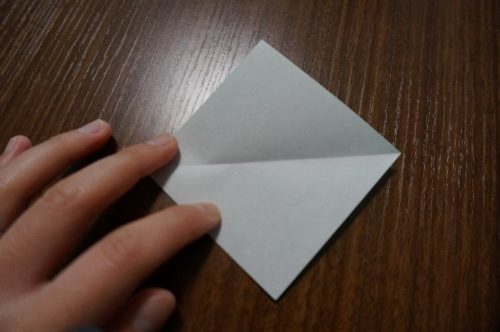
②三角形にします。
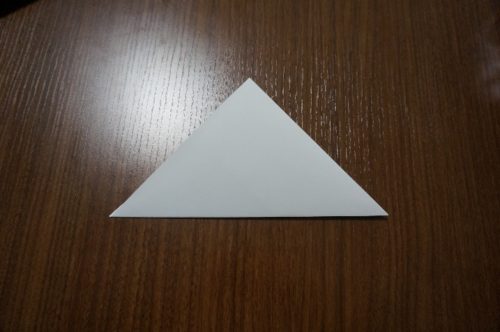
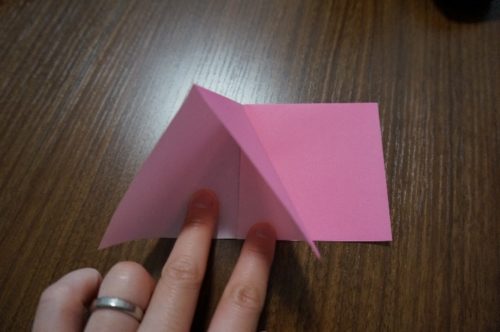
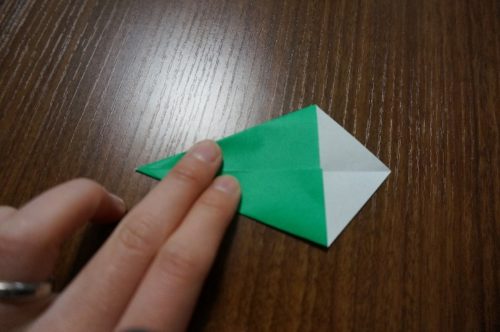
③幼稚園で折った方も多いのではないでしょうか?
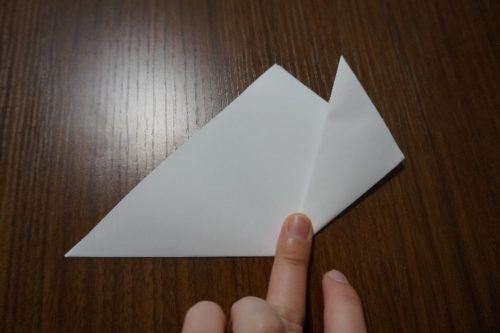
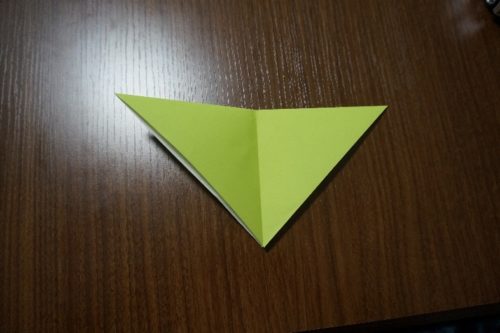
チューリップの花びらになる部分を折り上げます。
↓
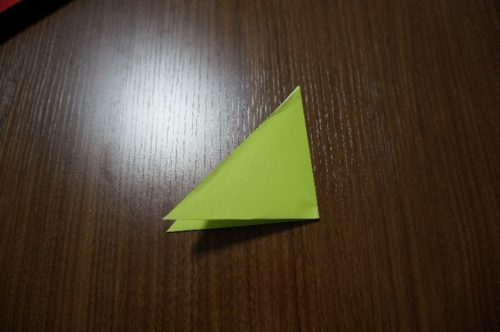
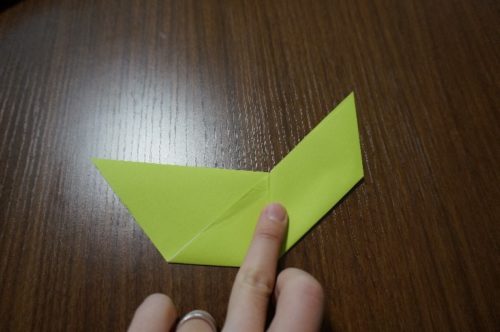
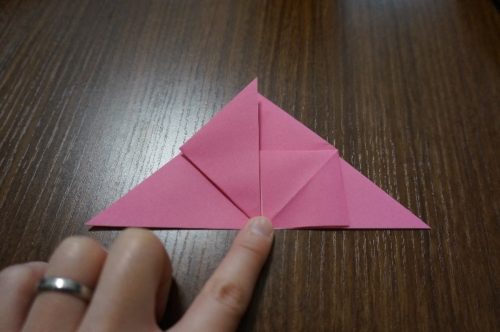
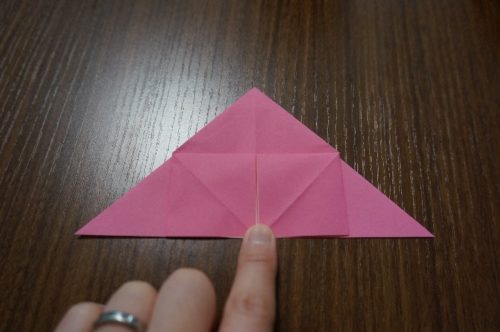
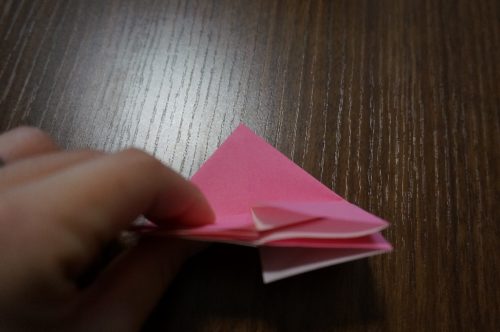
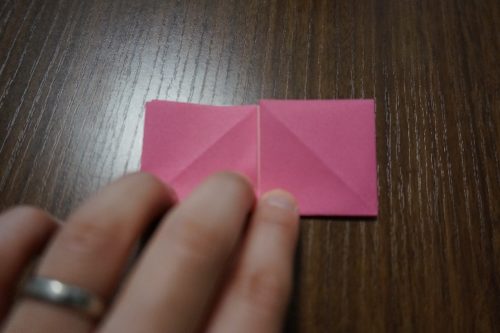
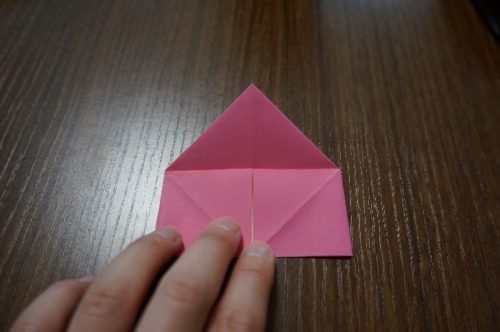
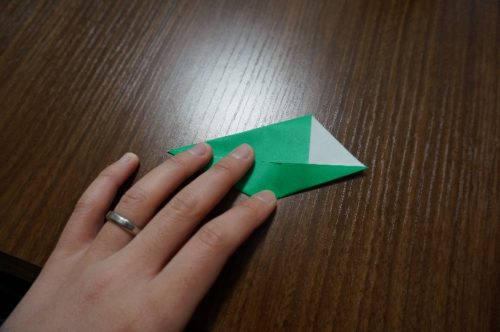
④裏返して尖った部分を折ります。
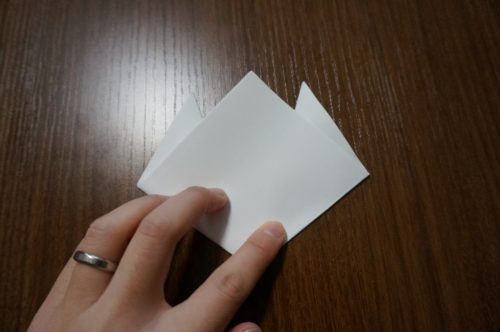
↓
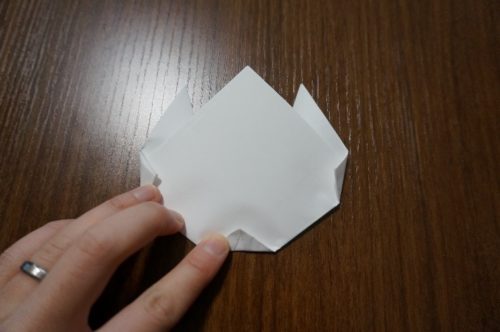
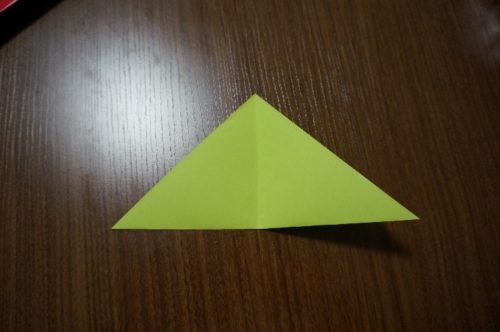
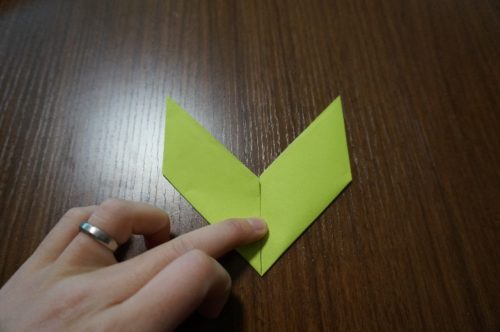
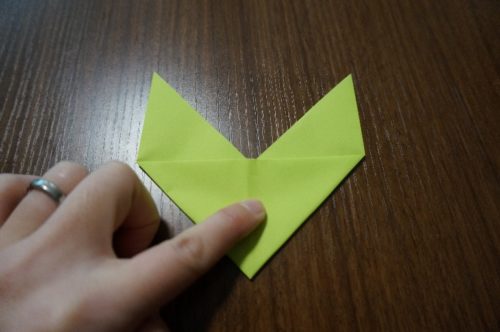
⑤裏返してチューリップの完成です。

これだけでも十分なのですが、せっかく手紙で渡すのですから今回はこのチューリップに添える葉っぱの折り方もご紹介します。
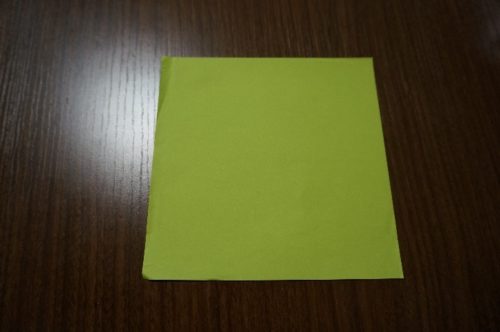
☆チューリップの折り方(葉っぱ)☆
①緑色(お好みの色でOKです。)の折り紙を用意します。
②三角に折ります。
③更に三角に折り、折り目を付けます。
↓
④三角のてっぺんを下に向けます。
⑤下の写真のように、角を折り目に合わせて折り上げます。
⑥中央の折れ目線に合わせて折ります。
⑦反対側も同じように折ります。
⑧裏返して、こちらも中央の折れ目に合わせてまっすぐ上に折り上げます。
↓
⑨裏返して葉っぱの完成です。
⑩チューリップと合わせるとこうなります。
このように葉っぱに手紙を差し込んだ状態にすればとても可愛らしくなります。
チューリップに色鉛筆などで色を塗っても良いですね。
花の折り方って難しいの?どこを気を付ければいい?
贈るプレゼントに花を折ってデコレーションすればオシャレになりますよね。
それも立体的に見える花ならなおオシャレに見えること間違いなしです。
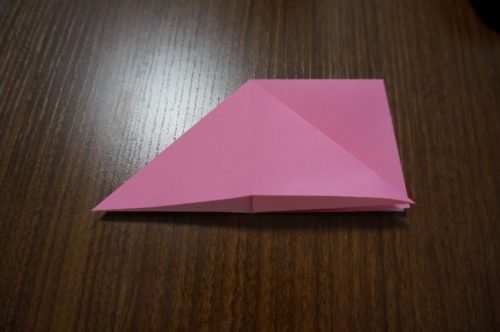
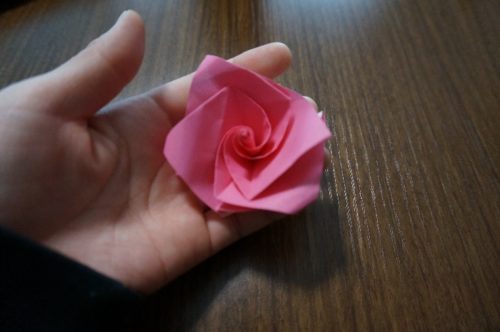
こちらでは立体的に見えるバラの折り方をご紹介します。
☆バラの折り方☆
①折り紙を半分に折ります。
↓
②更に半分に折ります。
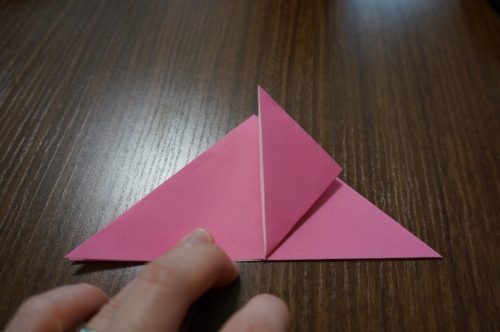
③下の写真のように、三角形を作ります。
↓
④裏側も同じようにします。

↓
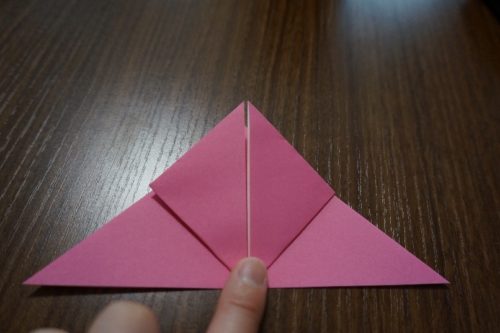
⑤右端の角を上の角に合わせて折ります。
⑥反対側も同じように折ります。
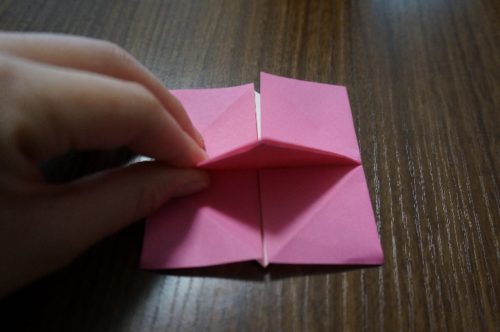
⑦下の写真のように、先ほど折った小さな三角を開いて小さな四角にします。
↓
⑧反対側も同じように折ります。
⑨裏返して、⑤~⑧の工程と同じように折ります。
↓
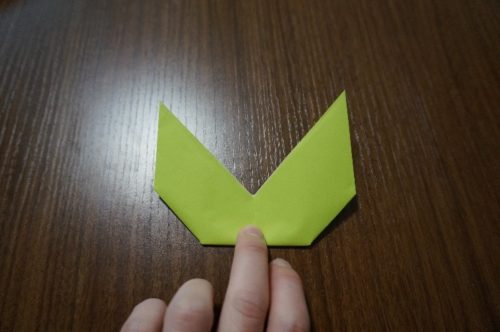
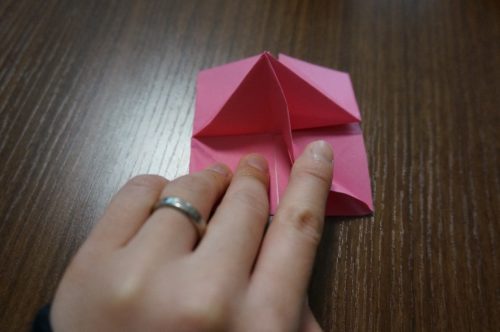
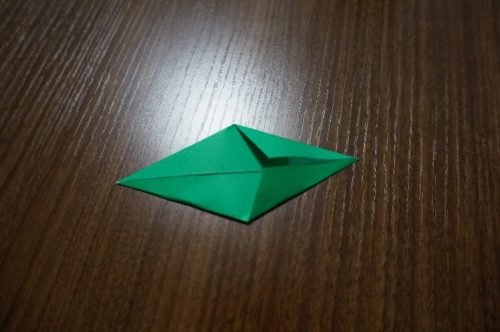
⑩下の写真のように折ります。
↓
⑪戻します。
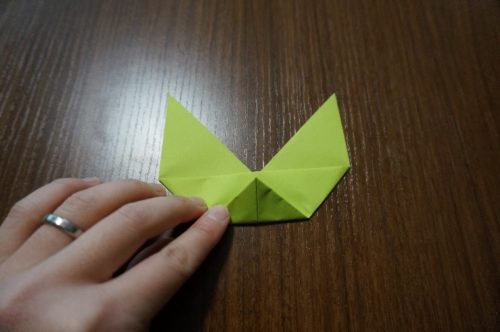
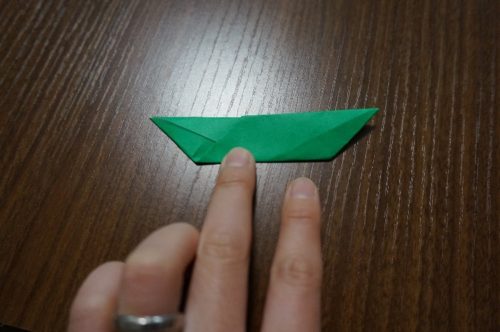
⑫小さな四角が並ぶ下側を下の写真のように開きます。
↓
↓
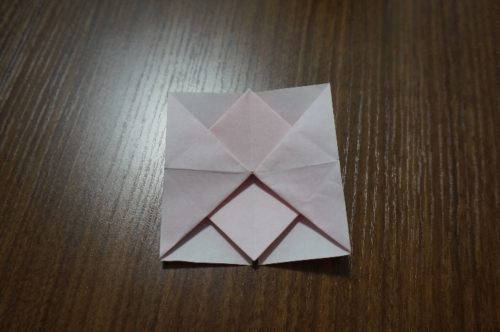
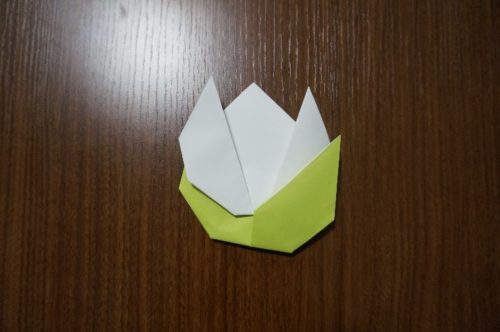
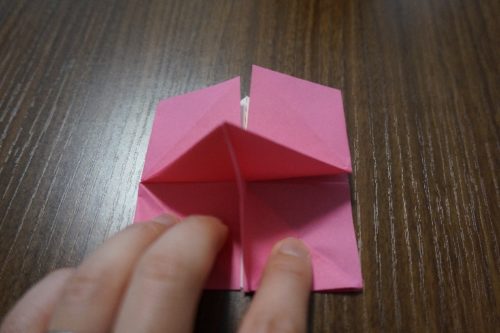
⑬裏返して三角の部分を立てます。
⑭三角の重なっているところを開きます。
↓
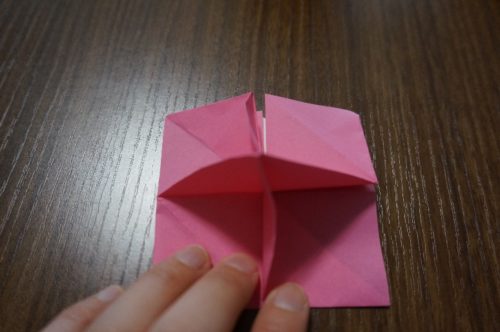
⑮もう一つ重なっている部分も⑭の工程と同じようにします。
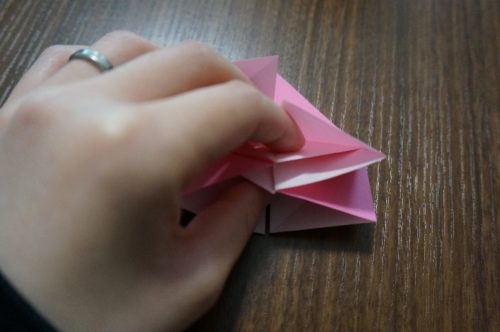
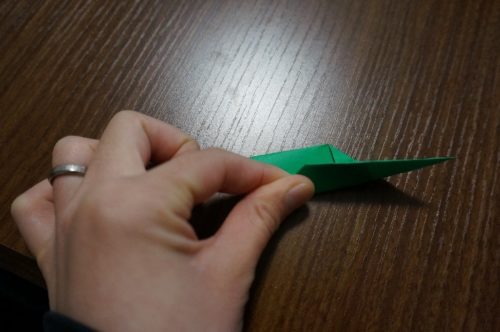
⑯手のひらに持ち、指でつまんでいる部分を思い切りひねります。
※中央の指でつまんでいる部分をピンセットでつまんでひねるとキレイになります。
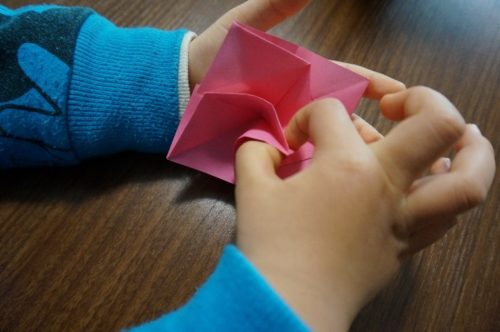
↓
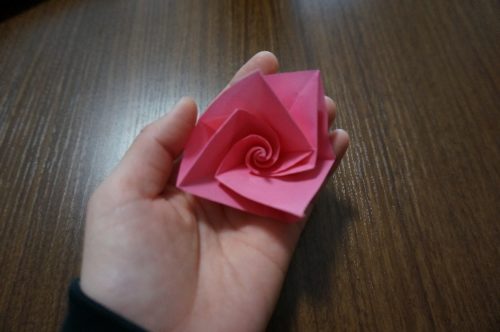
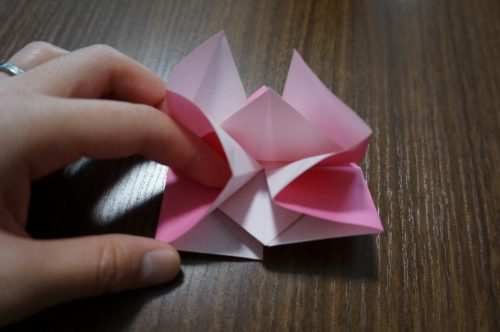
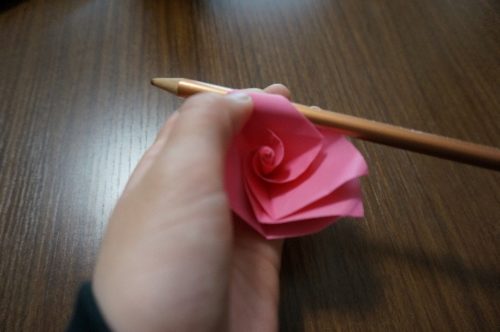
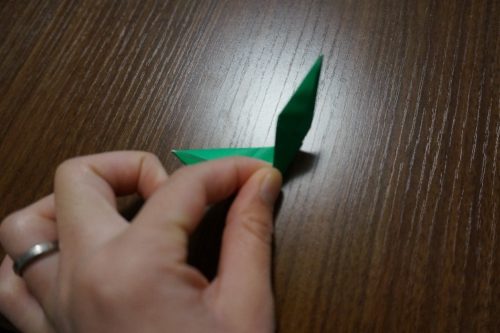
⑰花びらの部分を鉛筆やピンセットで巻くと、より花びらのようになります。
↓
一番気を付けないといけないのはやはり⑯の工程の部分です。
中央をぎゅうぎゅうに巻くと、よりバラ感が増します。
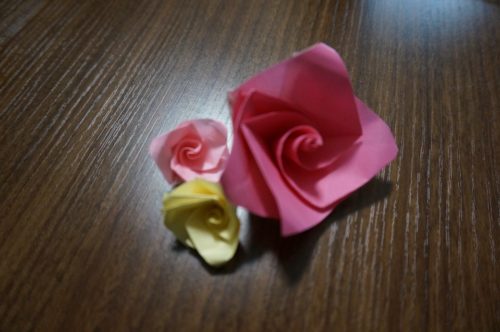
折り方 花束を作るには?
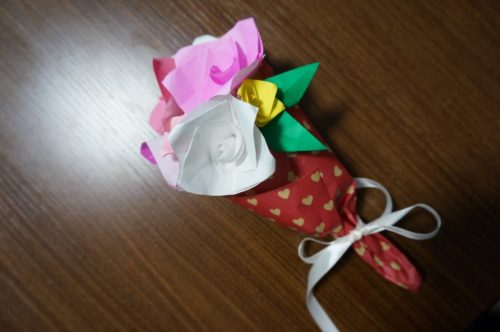
立体的な花が折れたら次にやってみたいのが花束を作ることですよね。
立体的なバラを複数折ってセロハンテープや両面テープで固定し、花を包むように紙を巻いてリボンを縛れば花束になりますね。
しかし、花だけでは何か足りない気がしますね。
ちょっと緑があればより花束感がグッと増します。
こちらではバラの葉っぱの折り方をご紹介します。
☆葉っぱの折り方☆
①一般的な折り紙より小さめの折り紙を用意します。
※なければ普通の折り紙を正方形四等分にします。
②三角に折って開きます。
③下の写真のように折ります。
④右側の白い部分のところを中央の折れ目線に合わせて折ります。
⑤上側も同じように折ります。
⑥下の写真のように、上底と底辺が合わさるように折ります。
↓
⑦下の写真のように、折ります。
※角度はお好みでOKです。
↓
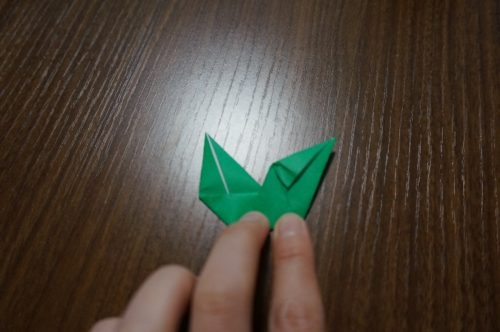
⑧裏返して完成です。
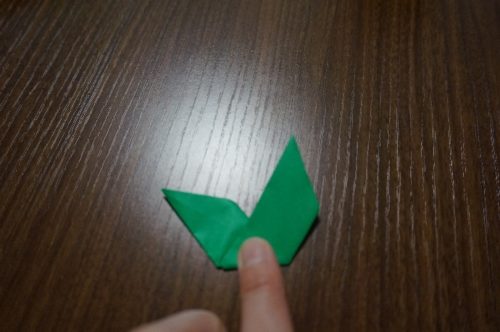
⑨このように緑を好きなところに添えましょう。
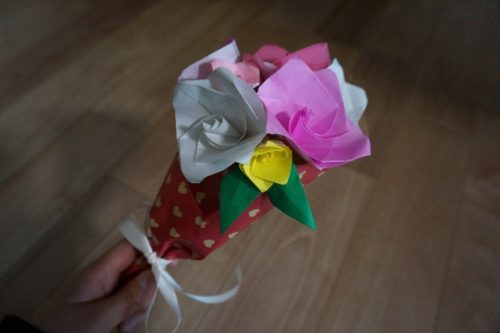
今回のまとめ
いかがでしたか?
今回の記事では、花の折り方についてご紹介しました。
まず最初にチューリップをご紹介させて頂きました。
そのチューリップの手紙に葉っぱで挟むと可愛さがグッと増しますね。
次に立体的なバラの花をご紹介しました。これは、⑯の工程である中央の部分をぎゅうぎゅうに巻くことでバラ感が出ます。
更に花びらの部分を外側に巻くことでよりバラ感が増します。
ちなみにこのバラは、小学2年生の子どもに教えてもらいました。
立体的なバラが出来れば複数折ってラッピング用の紙を巻き、セロハンテープや両面テープで固定したバラを巻いたラッピング用の紙に貼り付けます。
下をぎゅっと絞ってリボンを結べばより立体感が生まれ花束らしくなります。
それでも十分なのですが、何か物足りないという方はご紹介した葉っぱを添えるとキレイにまとまります。
難しそうに見える花の折り方ですが、子どもでも折れるくらい簡単です。
ぜひ試して素敵な花を折ってくださいね。